
When we moved to our new apartment, I decided it was time to exchange the piecemeal furniture I had acquired for lasting, more cohesive and well-designed pieces. One of the pieces I really wanted was a beautiful kitchen table that sat at least 6–still intimate but would allow us to entertain and have enough seating.
Family dinners were the highlight of my childhood and our kitchen table became the centerpiece for many of our traditions. I cherished the long lingering dinners filled with laughter, competitive board games, a good debate or two and my mom’s cooking. Our move offered an opportunity to find a kitchen table that could be the center for our family. I wanted to create a space where we could come together, share our experiences, bond in a casual environment and debrief life.
Like many others, quarantine also forced our kitchen table into a multifunctional piece of furniture. In addition to dining, it also became my home office, our storage unit and landing space. I know for many, the kitchen table has also become a central location for school and education. The dining area occupies a place of honor as the heart of the home and serves core function.
Whatever your table is being used for, the call to the table for a meal marks a moment in the day at which everything else must give way to communality: toys are abandoned, school textbooks closed, computers put on standby, and work paused. However, the demand for dining tables is declining and this says a lot about the culture we live in. We now eat at the computer, standing in the kitchen, lounging on the sofa in front of the television, in the car, or walking along the street. Anything to maximize productivity. Best of all we like to graze all day (which I’m definitely guilty of). If we do still eat at the table it’s more common to share a space with other things, such as a computer, a television, or newspapers. More and more of the food we buy is ready to eat, in throwaway tubs or trays, or designed as finger food to be eaten with one hand and no cutlery.
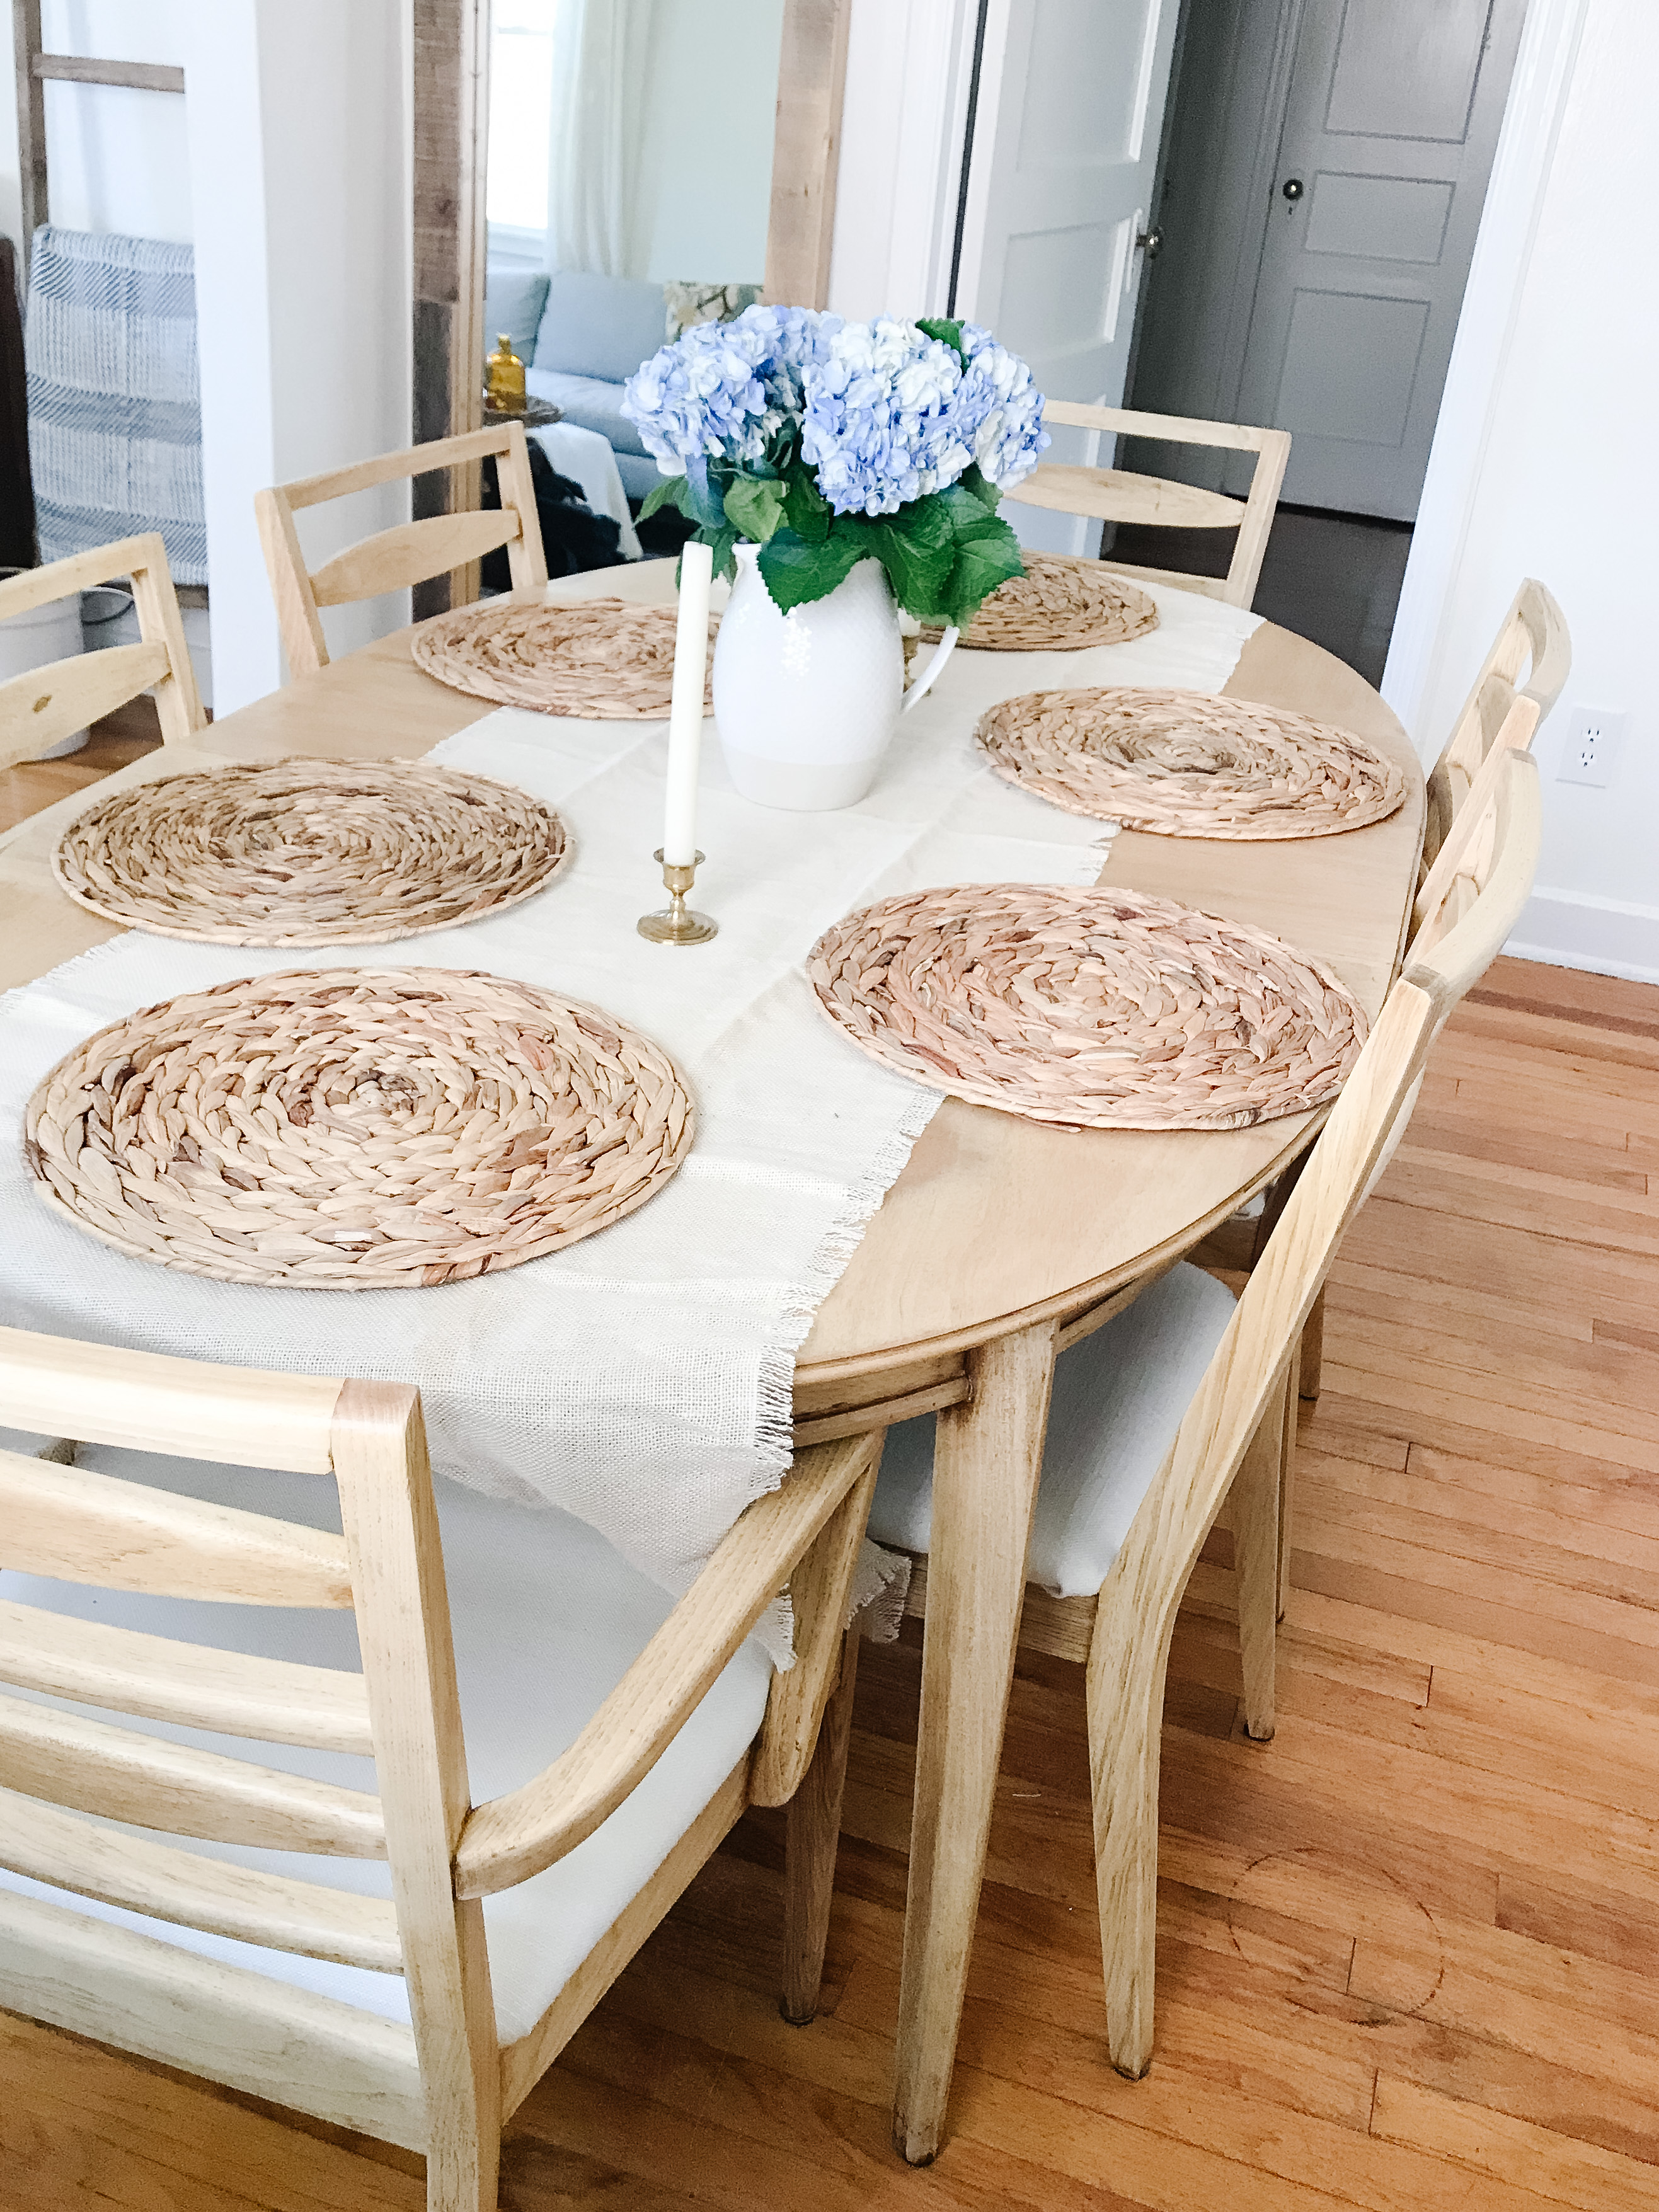
In an effort to maintain my beloved memories, I went searching for the perfect table to create a space where we could share good food, break from the day and simply be gathered together. My inspiration came from one of my favorite designers, Studio McGee: a simple but powerful oval monochromatic wood table-chair combo with an upholstered accent. I was inspired by the light wood, clean lines, and transitional style. However, the Giselle Oval Dining Table, with all it’s beauty, was out of our price range and too big for our little 2 bedroom apartment. Taking matters into my own hands I put my creative juices and “summer projects with Dad” experiences to work and decided to refinish an old table I found on Facebook Marketplace. And here, my friends, is where the story begins.


After refinishing a solid wood, 6-top table and reupholstering the 6 accompanying chairs I have such respect for well made furniture. It is hard. It is messy. It takes craft and skill. You might be paying for a brand name when you buy quality pieces, but you are also buying lasting material and professional craftsmanship that will last you a lifetime.
It is doable to refinish a table–just make sure you have time and a well ventilated area. Here is my process for how I transformed our kitchen table.
Supplies
Wood Table
N95 Mask
Protective eye wear
Drop cloths
All-purpose cleaning spray and a cloth or paper towels
Natural fiber paint brushes (2)
plastic scraper or putty knife
Steel wool
Sandpaper in varying grits (60-, 120-, and 220-)
Tack cloth
Wood bleach – I used 2 for our 6 top table
Upholstered Cushions
Pottery Barn Basketweave Slub (2 yards, I had left over)
Batting (2 yards, I had left overs)
Scissors or fabric shears
Process
- Remove cushions from chairs and take out staples to remove fabric and old batting. Check condition of foam and if it is still in good condition. Removing the staples can be a bit of a tedious process. I recommend using a flat head screwdriver while wearing gloves compared to a staple remover.
- Use old fabric as a pattern to cut new fabric. On a flat surface, smooth the old fabric on top of the new fabric, cut with scissors. Repeat process with batting.
- Staple new batting on cushion by wrapping batting around the seat form and stapling on the back. Repeat with upholstery. Make sure your hands are clean for this step! Set newly covered cushions aside until table is finished.
- For the table, understand what you’re working with. Pay attention to the level of detail on the piece before you start and confirm if the table top is a veneer. Solid wood is a better candidate for refinishing than veneer, which tends to be thinner and can be easily sanded through. Don’t attempt to refinish laminate either—it’s plastic.
- Lay down the drop cloths and or plastic underneath the table and chairs. Choose a well ventilated area and cover your nose and mouth with an N95 mask, wear protective eye gear and gloves. Between the dust and chemicals, you want to protect your lungs, eyes and skin.
- Clean. The biggest mistake you can make is not spending enough time prepping the surface. Before you even get to stripping the current finish, thoroughly clean off any dirt, oil, or grease (otherwise, you’ll just be removing all of that when you apply the stripper instead of the stain). Use your normal cleaning supplies here, like all-purpose cleaner.
- Strip the finish with the stain stripper. Section off the table and chairs and work in shifts. Complete one section before moving on to the next. Pour stripper into a metal bucket to apply to the surface using a brush or pour the stripper right onto the table if working with a flat surface. Use a natural fiber paint brush to spread evenly on the surface. Follow the instructions on the stain stripper for how long to leave it on the wood–usually 30 minutes. This is also a helpful video that I followed.
- After the instructed period of time, remove the stain stripper using the plastic scraper. This will get messy! Scrape stripper residue off the surface and discard into one of the small metal pails.
- Rub the recently stripped surface with steel wool to help remove remaining stain remover.
- Pour mineral spirits onto a rag and rub over surface–this will help clear away any residue.
- Let wood rest for 24 hours before moving onto sanding
-REPEAT THE ABOVE PROCESS ON ALL WOOD SURFACES BEFORE SANDING-
- Starting with your roughest sandpaper (60-grit), sand following the grain to get rid of what’s on the table now: remaining varnish, old paint, whatever. Now wipe down your table with a tack cloth so it’s free of dust, then go at the surface again, this time with your 120-grit. Repeat with 220 grit to smooth and finish the surface.
- Bleach. I wanted to lighten the color of the wood so used wood bleach to achieve this look. Follow the instructions on the product.
- Do a final sand-lightly with 220 and wipe with tack cloth. Make sure your surface is clean and smooth before sealing.
- Apply the polyurethane. Use a clean natural fiber brush and cover every surface with one coat, let it dry, and then do a pass with your finest sandpaper (360-grit) and wipe away any dust. Apply another coat, and another if you see fit. Three coats should be sufficient to protect everyday use of your table.
- Let the table and chairs dry for a full 48 hours. You can then re-attach the cushions. Then you, my friend, are done! Congratulations. Enjoy a glass of wine and kick your feed up.